Our Sites

PHOTOS & DESIGN TOOLS
DESIGN IDEAS
- Hotel Interior Solutions Using WPC Wall Panel Material
- Modern UV Marble Sheet Designs for Hotel Decoration
- Acoustical Panels for Hotel Interior Design
- What Do FF&E and OS&E Mean in the Context of Hotels?
- 2026 Hotel Bathroom Design Trends
- 2026 Hotel Lobby Design Trends
- 2026 UV Marble Sheet Design Trend
- Bamboo Charcoal Wood Veneer Marble Wall Panels for Public Spaces
ROOMS & SPACES
- How Acoustic Panels Improve Sound Quality in Hotels
- Why Are More and More Renovation Projects Starting to Use Bamboo Charcoal Wood Veneer?
- Why Are More and More Hotels in the US and Europe Choosing SPC Wall Panels for Bathrooms?
- How to Choose the Right Bed for a Hotel?
- Popular Colors and Applications for Acoustic Panels
- Wooden, Metal or MDF? Best Materials for Hotel Bedside Tables
- Best Hotel Room Furniture Suppliers for 3–5 Star Hotels
- What Are the Advantages of Acoustic Panels for Office Use?
HOW TO INSTALL
- How to Install Bamboo Charcoal Wood Veneer
- Should Acoustic Panels Be on Walls or Ceilings?
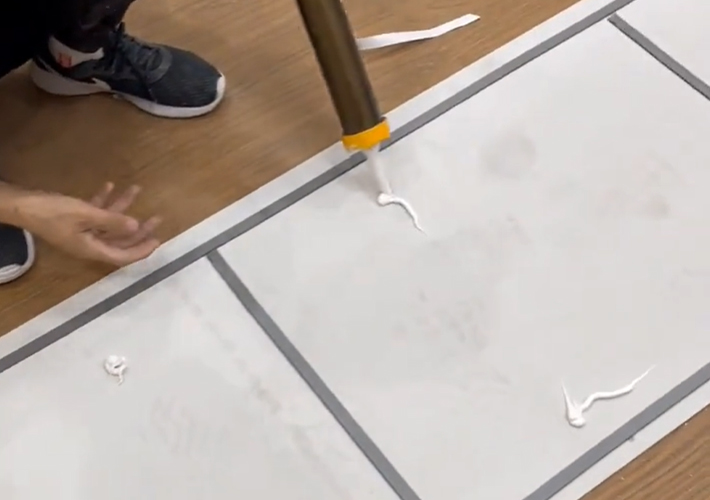
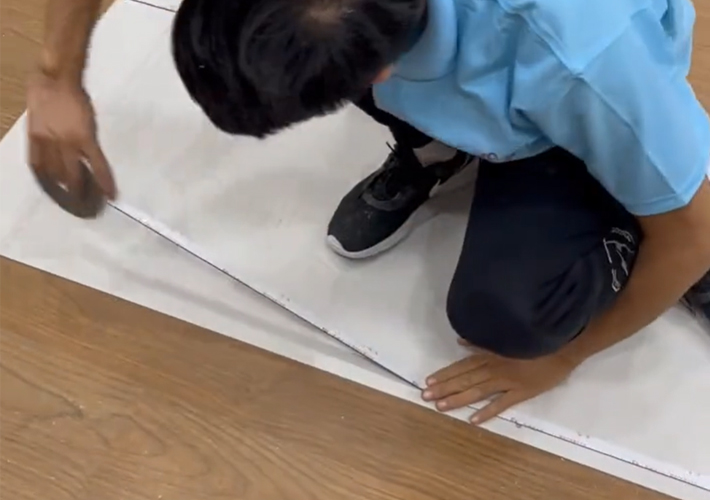
- Step-by-Step Guide to Installing PVC Marble Sheets
- WPC wall panel installation method
- How to install SPC wall panels?
- How to install bamboo charcoal wood veneer?
- Enhancing Sound Quality with Acoustic Panels
- How to install Bamboo Charcoal Wood Veneer?
ROOMS & SPACES
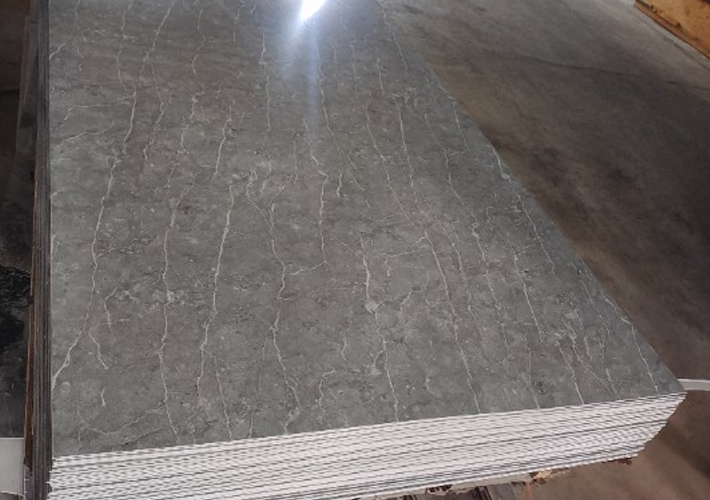
- PVC Marble Sheet Manufacturer in China for Hotel Interior Wall Projects
- Key Installation Points of WPC Wall Panel Concealed Door Systems
- Customization and Wholesale Services of PVC Marble Sheets Suitable for Star-Rated Hotel Decoration
- Interior Bedroom Design Styles: Enhancing Aesthetics with Modern Wall Panels
- Can I Use SPC Wall Panels in a Shower?
- Guide to Wall Panel Types
TOP EXPERT ADVICE
- China Bamboo Charcoal Wood Veneer Supplier for Hotel Projects
- How to Shorten Hotel Guestroom Renovation Time by 30%?
- What Real Problems Will a Project Face If CE Documentation Is Incomplete?
- Bamboo Charcoal Wood Veneer Price Guide & Global Market Trends
- Top WPC Wall Panel Manufacturer and Factory for Global Projects
- Top 10 Best Acoustic Panels for Modern Interior Decoration
- How to Choose the Best Hotel Luxury Sofa for Your Project
- Latest Market Trends of WPC Wall Panels in 2025
LEARN THE BASICS
- How Much Do SPC Wall Panels Cost per Square Meter?
- Why UV Marble Sheets Are Cost-Effective for Hotel Projects
- Why Acoustic Board Panels Are Essential for Sound Control
- Is Bamboo Charcoal Wood Veneer Sustainable?
- Wholesale PVC UV Marble Sheets from China Manufacturers
- Advantages of Wooden Acoustic Panels for Sound Absorption
- Waterproof SPC Wall Panels for Bathroom Walls
- What Materials Are Used in WPC Wall Panels?
POPULAR COLLECTIONS
INSPIRATION
POPULAR COLLECTIONS
INSPIRATION
POPULAR COLLECTIONS
INSPIRATION
POPULAR COLLECTIONS
INSPIRATION
INSTALLATION & ADVICE
POPULAR COLLECTIONS
INSPIRATION
INSTALLATION & ADVICE
EXPLORE US
INSTALLATION & ADVICE